Showing posts with label crafts. Show all posts

Sunday, December 18, 2011

Angry Birds Mania

Hello out there!  I really am still here, I promise!  This has been such a crazy fall.  Just waiting for baby to come in January!

Meanwhile, my son is almost 7 (I'm not really sure where those 7 years went.)  He REALLY wanted an angry birds birthday party this year.  We did the family party and found him an Angry Birds cake and everything.  So for table decor I made these boxes to put some goodies in.  They're a spin on the flower baskets I found a while back, minus the handles.  I can't remember where I found the tutorial though, but if I can find it I will come back and update.  Basically you take a 12x12 piece of cardstock and score on all four sides at 3.5", cut on each side of two of the rectangles, fold up and glue.

The birds I cut using punches - circles and small rectangle.


Thanks for stopping by!  I really appreciate it.
Colleen

Monday, February 7, 2011

Something Different

Good morning!  I hope you all had a nice weekend.  It always goes so quickly, doesn't it?  The big kid is back to school, so it's just me and the little one right now.  Although I hear a mountain of laundry calling me to be folded but I'll get to that in a minute!

I needed a couple of birthday gifts for 2 aunts of mine this weekend, so I made these bracelets for them.  I told you that I love everything crafty!  I don't get too fancy, but can do some basic jewelry.

These are made with mostly glass beads and memory bracelet wire.  The top picture is pretty good, but the bottom one is a little harder to see.  It has purples, silvers, clear beads and white pearls.


Thanks for stopping by!
Colleen

Wednesday, November 3, 2010

Coffee Journal

Good afternoon! I thought I'd take a break from my cleaning (not much fun there) to share this project with you (much more fun). This is one of the new stamps from The Greeting Farm, and I thought he was pretty cute and perfect for a guy project. I have a hard time with things for men, but I put this altered notebook together for my hubby and I'm pretty happy with it!

I used the sketch from Card Patterns this week for the front of the notebook.


Supplies are composition notebook, image by Greeting Farm colored in with Copics. Paper is DCWV, cardstock is SU Bliss Blue and Creamy Caramel. Buttons are American Crafts, I think. Sentiment is from Clear Dollar Stamps with Memento Brown ink. Ribbon is from my stash.
Thanks for stopping by!

Sunday, October 3, 2010

Altered Paper Clips

Hello! I thought I'd sneak a few minutes to share these altered paper clips I made. I found these plastic paper clips at Walmart and thought they would be perfect to add on to - and turns out they are easy! I just used my circle punches and used those for my base, and then hot-glued them onto the clips. With the holidays quickly approaching, these would be a quick teacher gift or for anyone else on your list:)


Supplies are SU paper in Chocolate Chip, Rose Red and Creamy Caramel. Stamps are from the dollar bin, colored in with Copics and accented with clear Stickles and SU Crystal Effects. Paper clips are from the office supply at Walmart.
Thanks for stopping by!

Monday, September 27, 2010

Another Gift Card Idea

Good morning! Well, it seems fall is here. Don't get me wrong - I love fall. It just doesn't last long enough and I am NOT a winter kind of girl. But I will enjoy the cool crisp air today while it lasts before I have to bundle up!

I didn't get much crafty time in this week, but I wanted to share this gift card holder idea I put together a couple of weeks ago. I saw somewhere someone made a gift card holder using a Big Shot die, but I don't have one of those so I use a Nestibilities Tag 11(?) die instead. It wasn't quite big enough to cover the gift card, but it fit snugly in there and I think it works!


Supplies are SU cardstock and DP, Kaiser Pearls from Paper Jewels, misc satin ribbon and clear stamps (not sure where from).
Thanks for stopping by today!

Sunday, September 12, 2010

Birthday Gift Card

Hello! I hope you are all enjoying your weekend! We didn't get to go to church this morning, and had to cancel our plans for this afternoon due to a sick child and working husband. Such is life. So making the best of things, we've had a very quiet morning, and I put together this gift card holder for my brother-in-law, whose birthday is today! I borrowed the idea from a gift card holder I received in a swap a while back, but I don't know who it came from, but I really liked it!

I used the sketch from Papertake this week.


I took a 9 1/4 x 4" piece of patterened cardstock and scored it at 3 1/4" and 6 1/2". I cut the piece out at the botton and applied a little bit of adhesive along the left side to keep it together.

Supplies are cardstock by DCWV (Glitter stack), SU Going Grey and DCWV black
Image is a clear stamp, not sure who by, colored in with Copics
Sentiment is PTI inked with Encore metallic silver
Dots are from Stamping Bella
Silver cording is SU
Ink is SU Green Galore and Memento Tuxedo Black
Argyle on the grey is from a Cuttlebug embossing folder

Thanks for stopping by today!

Tuesday, August 31, 2010

Baby Basket

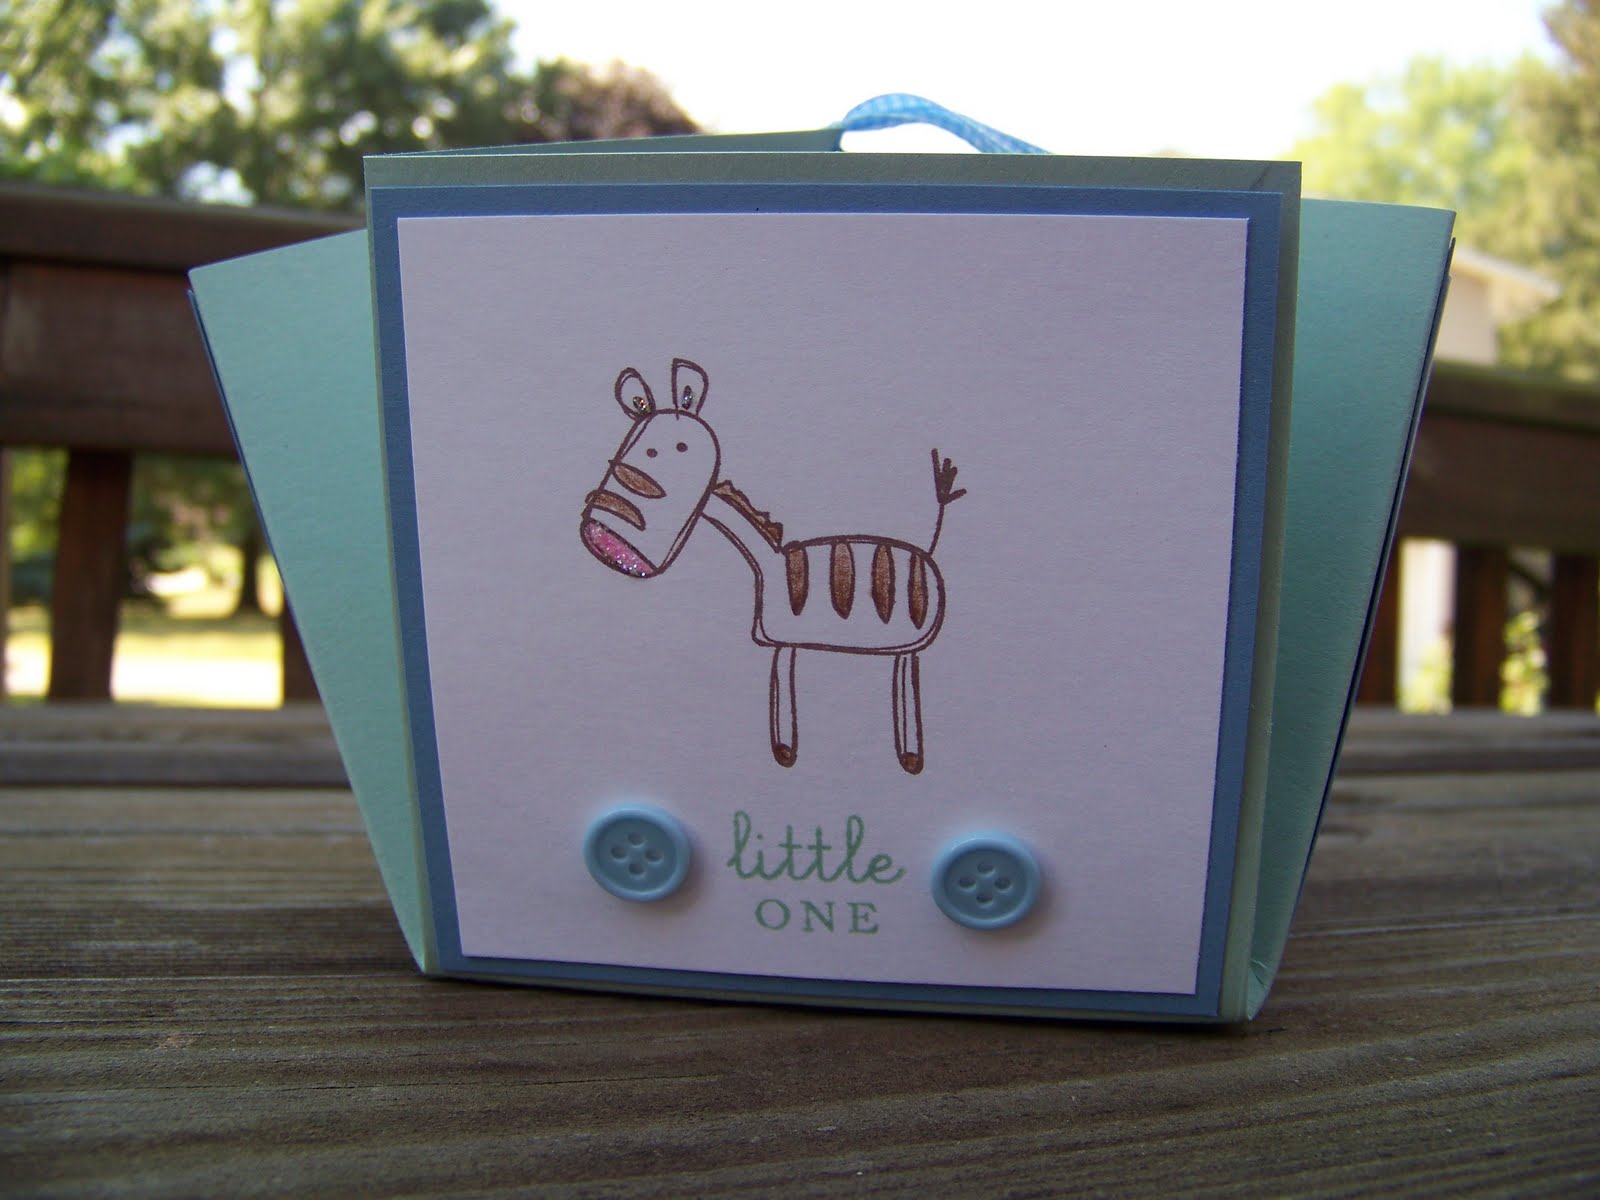
Hi! I was waiting to share this basket with you until I gave to it to intended couple..just in case:) Now I can share it! I LOVE this basket - it is so cute and easy to make. I believe I made one before too for a birthday, but this one is larger - I used a 12x12 sheet of cardstock. I saw the original one on AnnMarie's blog - she has the instructions on there too.

I didn't show you the picture of the fourth side - I stamped "celebrate" and wrote below instead of making a separate card. I also filled it with chocolates.


Images are from Raisin Boat, accented with Stickles and colored in with Prismacolor pencils. Cardstock is SU Sage Shadow, and I can't remember which blue for sure, but I think it was Brocade Blue. Sentiments are PTI.
Thanks for stopping by!

Thursday, July 22, 2010

Bookmarks

My fellow Crafty Critter Melanie hosted a bookmark swap on SCS, and these are the ones I made for my 2 spots. I had fun with these. I always enjoy making bookmarks, and read...well, used to read before little one #2.

For the first one, I used a Raisin Boat stamp, colored it in with SU watercolor pencils and blended with a blender pen. Paper is SU Certainly Celery and DCWV. I used Bella dots and Stickles to accent along with misc ribbon and large eyelet.


This second card I used a misc rubber stamp (sorry, don't know where it's from) embossed with white embossing powder. Not sure who the DP is from, but cardstock is SU black and Eggplant Envy. Ribbon and eyelet are misc, and the bling is Kaiser from the Paper Jewels store.


Thanks for stopping by and happy stamping!

Wednesday, July 21, 2010

Blog Candy!!!

***Please scroll down for current posts. This will remain at the top until July 21.***

Would you be interested in some blog candy in honor of my new venture? Since having a little girl, I have been making hair bows/clippies for her, and decided to open my own little Esty shop to share! So I will share with you! I am giving away a sampling of different bows I made (all are on alligator clips approx 2" in length).

Please check out my Esty shop - daisiesandsunshine - for more creations!


To be eligible for this blog candy, please enter your name and link. If you have a blog and help spread the word with a link to this post or my Esty shop, you can enter your name a second time (please mark blog post on Mr Linky), AND if you become a follower of this blog (or are already), please make a third entry on Mr Linky and mark with Follower. A random winner will be chosen on Wednesday, July 21.
Thanks for stopping by and be sure to scroll down for current postings.


Tuesday, June 1, 2010

What I've Been Up To

So it's been a few days since I've shared anything crafty, but I'm back! It's been a zoo here lately it seems, and while I've been able to get some images colored in here and there, no finished products yet. But I have been having lots of fun making these little hair bows (so far mainly for my daughter and a couple friends!) I decided to sell some of them on my Etsy shop (see side bar if you're interested please:)).

I came across a tutorial to make these adorable ribbon flowers, and just added them to alligator clips using buttons in the top picture, and flowers in the bottom.


I hope you enjoyed these! I'll be back Friday for sure with my Paper Jewels post. Stay tuned!
Thanks for looking and happy stamping!

Saturday, April 3, 2010

Mimosa Card Purse

From time to time I find a project that just tickles me to make. I don't know why, I guess it just strikes my fancy here and there. This was one of them. It's a card purse, and don't let it imtimidate you - it's SO easy to put together! My aunt will be getting this for her birthday later today with some cards added inside. I was able to (tightly) fit 5 cards and envelopes in here.


Supplies are SU cardstock in Almost Amethyst, Lovely Lilac, So Saffron and Certainly Celery. I can't remember who made the DP, I just have a little left in my stash. Image is Bildmalarna Mimosa Tea which you can get in the Paper Jewels store. Other Supplies are Stickles, Dew Drops, a SU flower punch, some oval punches, circle and scallop punches, and misc ribbon from my stash.
Thanks for looking and happy stamping!

Friday, December 18, 2009

Altered Calendars

I am so not ready for Christmas this year! Although I do have all my shopping done (yesterday!), my to-do list is endless. I have a few homemade gifts left to do, and here is one I thought to share with you.

Need a last minute gift idea? This is so easy! I just took a store-bought pocket calendar, pulled it out of the plastic covering, cut a piece of DP to fit over the front and the back, and embellished away! The numbers are cut using the Cricut, and the flowers and brads are from my stash.


Thanks for looking and happy stamping!

Sunday, November 22, 2009

Crafty Critters Challenge #12

This challenge was a tough one for me! We were to make a backpack box with a children's theme. I definitely have to say although this is an adorable project, I may not make one of these again! I might though, just to see if I can do it a little better:)

I did try a really cool background - I saw someone do it on HGTV for a wall, and I thought it would translate well to stamping. I took a stamp pad and gently inked up bubble wrap - yes BUBBLE WRAP - and applied it to the cardstock for the background. Here I used white craft ink, but it's a little hard to see in this picture. Cardstock and inks are all Stampin Up - Green Galore, Gable Green and Chocolate Chip. Stamps are SU's Toy Box. Eyelets are SU Bold Brights and ribbon is misc from my stash. I did highlight the stars and space ship with clear Stickles (although I think I missed one of the dots on the spaceship - oops!).


Thanks for looking and happy stamping!

Sunday, November 8, 2009

Tree Trimming Trio

I can't believe Christmas is fast approaching! Thanksgiving is less than 3 weeks away! I recently got this stamp set from Papertrey Ink and I just love it! I couldn't resist creating a few Christmas creations with it.

For the bookmark I used the words from the set and staggered them on a clear stamp block to create the background. I sponged over it with So Saffron ink. I filled in the garland with gold Stickles, and the star I went over with clear Stickles. The colors are all SU - So Saffron, Ruby Red and Always Artichoke.


The card I pretty much used all the same supplies as above.


Thanks for looking and happy stamping!

Monday, September 21, 2009

Stamping and Wood

I cleaned up my craft area the other day and found these two wooden pieces (unfinished) so I decided now would be a good time to finish them!

This was a plain unfinished wooden switchplate cover. I sealed it with a clear acrylic sealer and then added a few coats of white acrylic craft paint. Once that dried, I put dabs of the purple and pink acrylic paints on a paper plate and then laid a small piece of plain muslin over top, then dabbed the stamps on top. The muslin allows only a little paint through so you can get a cleaner image. I took the back end of a paint brush to make the flower centers. When all was dry, I sprayed a satin clear coat over top.


While I did not stamp on this second piece, I did use some stamp supplies! It was a plain wooded flower with the hook attached, prepared same as the switchplate. The paint is just brushed on though. The center of the flower is accented with clear Stickles, and again the whole thing was sprayed with the satin sealer when dried.


Thanks for looking!

Sunday, September 20, 2009

Cute Little Basket

I saw this basket on AnnMarie's blog, and I just had to make one! Isn't is cute? Check out her link for the instructions.

I made this for a birthday present and thought I could maybe fill it with some chocolates or something. It was made from an 8x8 piece of cardstock (SU Mellow Moss, So Saffron). I used the flower stamp from SU Something to celebrate and the birthday sentiment from a SU birthday set. Ink is chocolate chip, colored in with watercolor pencils. Flowers are highlighted with clear Stickles.


I am working on a 12x12 sized on for Christmas goodies for my neighbors.
Thanks for the great idea AnnMarie!

Saturday, September 12, 2009

A2 Card Box

Hello all! A while back I found a tutorial for an adorable little "pizza" box on SCS. It was SO easy to put together - my kind of thing. So one night, while I was bemoaning my overloaded card stash (I seem to make way more than I use lately!) I went searching for a nice little box that was easier to make than my earlier stationery project and I found this little tutorial on someone's blog to make the pizza boxes in card size!


Materials are SU cardstock in Chocolate Chip, Pale Plum and Perfectly Plum. Ink is SU, same colors. Stamps are SU for the sentiment (I can't remember the name!) and Out on a Limb from Papertrey Ink. Blossoms are highlighted with crystal Stickles. Ribbon is just misc from my supply.
Thanks for looking and happy stamping!

Monday, August 3, 2009

CCC9

Today I made my project for our 9th Crafty Critters challenge! I hosted this round, and the theme was to make something (anything) that showcased you as a crafter/stamper and your favorite things.

I chose to make a bookmark. I love to read, and I love coffee, so there is my theme! I used my favorite colors (brown and pink), embossed the coffee cup and using the Cuttlebug, dry embossed the pink layer (favorite techniques). The only thing I didn't include (figured it would be overkill:)) is Stickles (because in case you haven't noticed, I use them in about every project!)
Thanks for looking!

Tuesday, July 28, 2009

Butterfly Pictures

I decorated these frames for our baby's room. I was trying to keep it simple, but I think they're missing something. Maybe buttons along the bottom? The walls in the room are celery green.

I bought plain wood frames, painted them white and sealed them with a semi-glossy varnish. The images are SU's A Reason to Smile, and the colors are Lavendar Lace, Certainly Celery and Pink Passion. The ribbon is pink with white dots.


Friday, May 22, 2009

Stamping on Candles

I saw this idea a while back, from April (thanks!) on SCS. I had to give it a try and really enjoyed making these. All you need are white/light colored candles, white tissue paper, stamps, ink, colored pencils, wax paper and a heat gun. I think that's everything. Basically you stamp your image(s) onto tissue paper, color in as desired, position on candle and hold tight in place with wax paper, and briefly heat with your heat gun until the image melts into the candle. Not too long or you'll have a mess. Here is the tutorial if you are interested.


This first candle I used chocolate chip ink and SU's Stipple Shells. I did not color the images in on this one.


This second one I used a SU image (Summer by the Sea, I think). I used my watercolor pencils to color in the image.


Thanks for looking!